If you’ve been putting off your garage for months (or years), you’re not alone. Garages have a way of becoming the house’s default storage unit — the place where broken lawn chairs, half-used paint cans, and “I’ll deal with this later” boxes go to live indefinitely. The good news is that you don’t need a month of weekends to fix it. With the right plan, you can turn chaos into a functional space in two days.
Here’s exactly how to do it.
Why Garage Clutter Happens So Fast
Unlike your kitchen or living room, the garage rarely gets a second look during regular cleaning. It becomes a catch-all because there’s no daily pressure to keep it tidy — nobody’s entertaining guests out there. Over time, sports equipment, seasonal decorations, tools, and “maybe someday” items pile up until you can barely park your car, let alone find anything.
The fix isn’t about buying more storage bins. It’s about creating a system, and that starts with a plan.
What You’ll Need Before You Start
Before you touch a single box, gather these supplies so you’re not stopping mid-project to run to the store:
- Painter’s tape or chalk to mark zones on the floor
- Large trash bags (at least 10)
- Cardboard boxes or bins for donations
- A permanent marker and masking tape for labeling
- Work gloves
- A shop vacuum or broom
- A notebook or phone to jot down what storage solutions you’ll need afterward
Set aside two full days. Saturday is for sorting and purging. Sunday is for organizing and setting up systems that actually stick.
Day One: Sort and Purge
Step 1: Empty the Garage Completely
This sounds extreme, but it’s the single most effective step. Pull everything out onto your driveway or lawn. Seeing every item you own in the open — rather than buried in a corner — makes it far easier to be honest about what you actually need.
If weather or space doesn’t allow a full empty-out, work in sections instead: one wall or zone at a time, but commit to finishing each zone before moving to the next.
Step 2: Create Four Sorting Zones
As you empty the garage, sort everything into four categories:
- Keep – items you use regularly or that have genuine value
- Donate/Sell – functional items you no longer need
- Trash – broken, expired, or unusable items
- Undecided – for the rare item you need more time to think about
Be ruthless here. A good rule of thumb: if you haven’t used it in over a year and it’s not seasonal or sentimental, it goes.
Step 3: Handle Hazardous and Expired Items Properly
Garages tend to collect old paint cans, expired chemicals, dead batteries, and rusted tools. Don’t just toss these in the regular trash. Check your city’s household hazardous waste disposal program, most municipalities offer scheduled drop-off days or permanent collection sites.
Step 4: Deal with the Donate and Trash Piles Immediately
Don’t let donation boxes sit in your garage “until next week.” Load them into your car now, or schedule a pickup for Sunday evening. Momentum matters, and items that linger tend to sneak back into the keep pile.
Day Two: Organize and Optimize
Step 5: Map Out Zones Before You Put Anything Back
Before returning a single item, decide where things will live. Common garage zones include:
- Tools and workbench area
- Sports and outdoor gear
- Seasonal decorations
- Automotive supplies
- Yard and garden equipment
Use painter’s tape on the floor to mark these zones if it helps you visualize the layout.
Step 6: Go Vertical
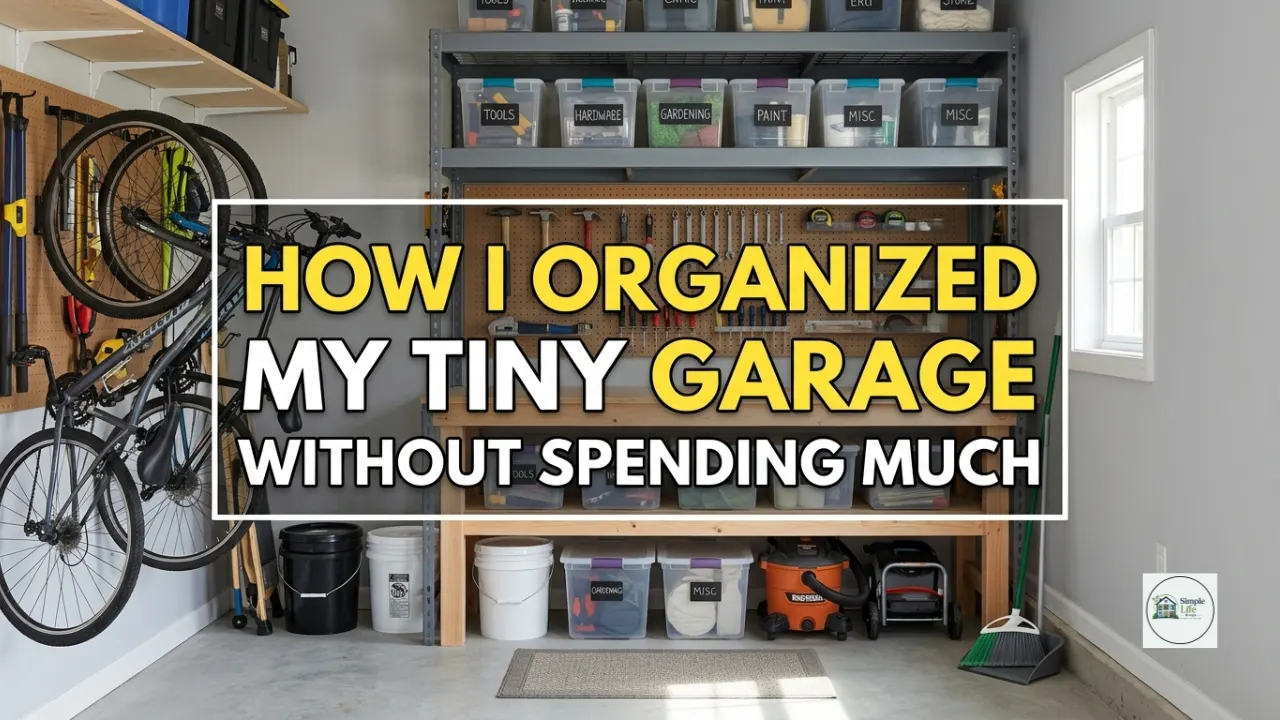
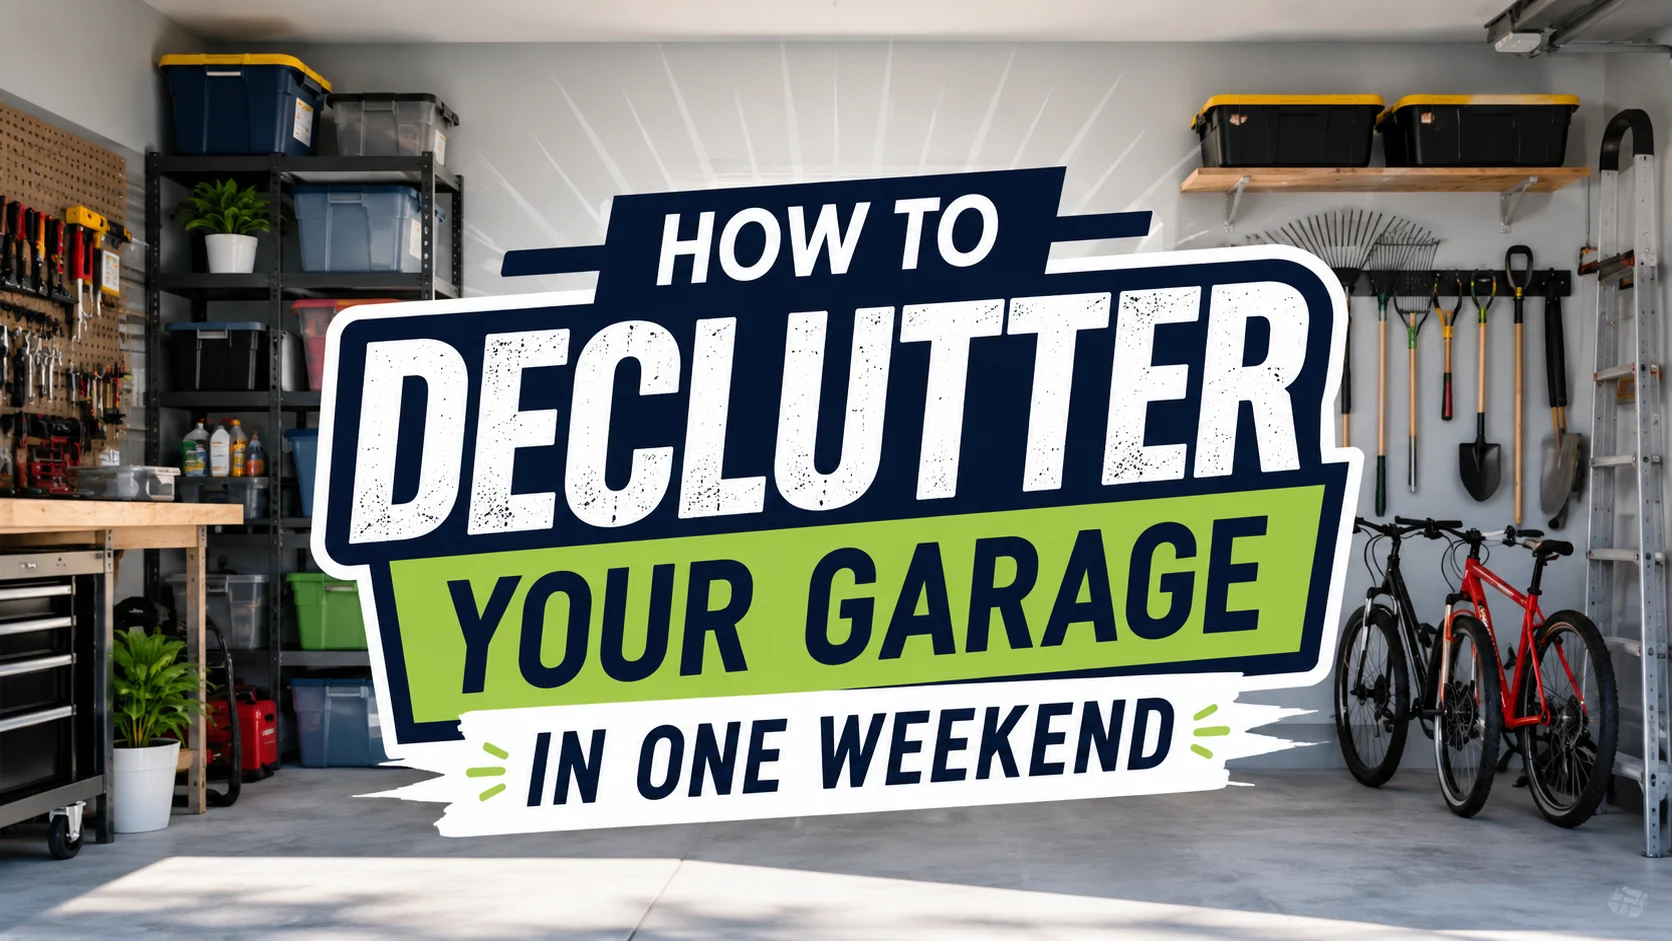
Floor space is precious, and clutter tends to creep back in when everything sits at ground level. Wall-mounted pegboards, slat wall panels, and overhead ceiling racks free up dramatic amounts of space. Heavy or rarely-used items (holiday decorations, camping gear) are perfect candidates for overhead storage, while frequently used tools should stay within arm’s reach.
Step 7: Use Clear, Labeled Bins
Skip cardboard boxes for long-term garage storage, they degrade with humidity and pests can get into them. Clear plastic bins let you see contents at a glance, and labels on both the lid and the side (so you can identify a bin no matter how it’s stacked) save you from digging through everything to find one item.
Step 8: Create a “Landing Zone” Near the Door
Set up a small area near the entrance to your house for items that move in and out often, like shoes, bags, or sports equipment. This keeps daily-use items from cluttering the rest of the space.
Step 9: Do a Final Walkthrough
Once everything is back in place, walk through the garage as if you’re seeing it for the first time. Can you park your car without obstacles? Can you find your tools without moving five other things? Adjust anything that still feels inefficient before calling it done.
How to Keep Your Garage Clutter-Free Going Forward
A weekend of hard work is wasted if the clutter creeps back in a few months later. A few habits make a big difference:
- Do a 15-minute reset once a month. Put stray items back in their zones before things pile up.
- Follow a one-in, one-out rule for tools and equipment.
- Reassess seasonal items twice a year, once before summer and once before winter, so out-of-season gear doesn’t linger.
Final Thoughts
Decluttering your garage in a single weekend is absolutely doable when you approach it with a plan instead of just diving in randomly. Empty it out, sort honestly, deal with hazardous items properly, and rebuild with zones and vertical storage in mind. The result isn’t just a cleaner garage, it’s a space you’ll actually want to use.