Quick Takeaway: How I Did It I had a small 10×12 foot garage packed with junk and no walking space. I decluttered first, added a $15 pegboard and some hooks on the wall studs, and reused old jars and pallets I already had. Total cost: under $65, and now I can actually park my bike and find my tools.
The Mess I Was Living With
Let me be honest with you. My garage was a disaster.
I couldn’t walk two steps without kicking a lawnmower or tripping over a garden hose. Every time I needed a screwdriver, I had to dig through three different boxes. It took me fifteen minutes just to find a hammer.
My garage is small too. Only 10×12 feet. That’s barely enough room for a car, let alone all the stuff I had crammed in there. Old paint cans, broken toys, tools mixed with holiday decorations, you name it, it was in there.
The final straw was when my son almost fell over a rusty bike frame that had been sitting in the middle of the floor for two years. I told myself, this has to change. But here’s the thing. I didn’t have much money to spend on it. Maybe $50, $70 at most.
So I made a promise to myself. I was going to organize this garage without breaking the bank. And it worked. Here’s exactly what I did.
My 3 Golden Rules Before Spending Any Money
Before I bought a single thing, I set three rules for myself. These rules saved me a lot of wasted cash.
Rule 1: Declutter First
You cannot organize junk. You can only organize things you actually need. So step one was always going to be getting rid of stuff, not buying storage for it.
Rule 2: Use the Walls and Ceiling
In a small garage, your floor space is precious. But your walls and ceiling? Mostly empty. I decided early on that vertical storage was going to save my garage, not more shelves eating up floor room.
Rule 3: Reuse What I Already Had
Before buying anything new, I looked around my house first. Old jars, buckets, wood scraps, even broken furniture. A lot of “storage solutions” were already sitting in my house doing nothing.
Step-by-Step: What I Actually Did
Here is the real process, step by step, exactly how it happened.
Step 1: The Sorting Day
I picked one Saturday morning and pulled everything out of the garage. Everything. The driveway looked like a yard sale.
Then I made three piles:
- Keep – things I use often
- Donate or sell – still good, but I don’t need them
- Trash – broken, rusted, or expired
I ended up donating two boxes of tools I never used and threw away a rusty old grill nobody remembers buying. That alone freed up a huge chunk of floor space, and I hadn’t spent a single dollar yet.
Step 2: Free and Cheap Wall Storage
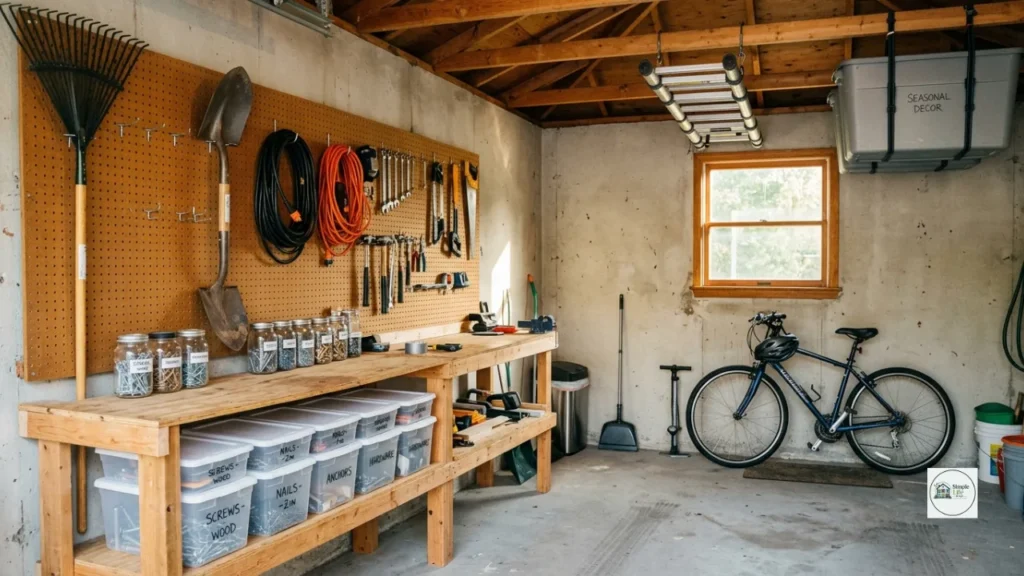
This is where the real transformation started. I went to my local hardware store and bought a $15 pegboard. I found the wall studs using a cheap stud finder (about $8, and honestly worth every penny), then screwed the pegboard straight into the studs so it could hold real weight.
I also picked up a pack of basic hooks for around $6. Now my rakes, shovels, and extension cords hang neatly instead of leaning in a pile in the corner.
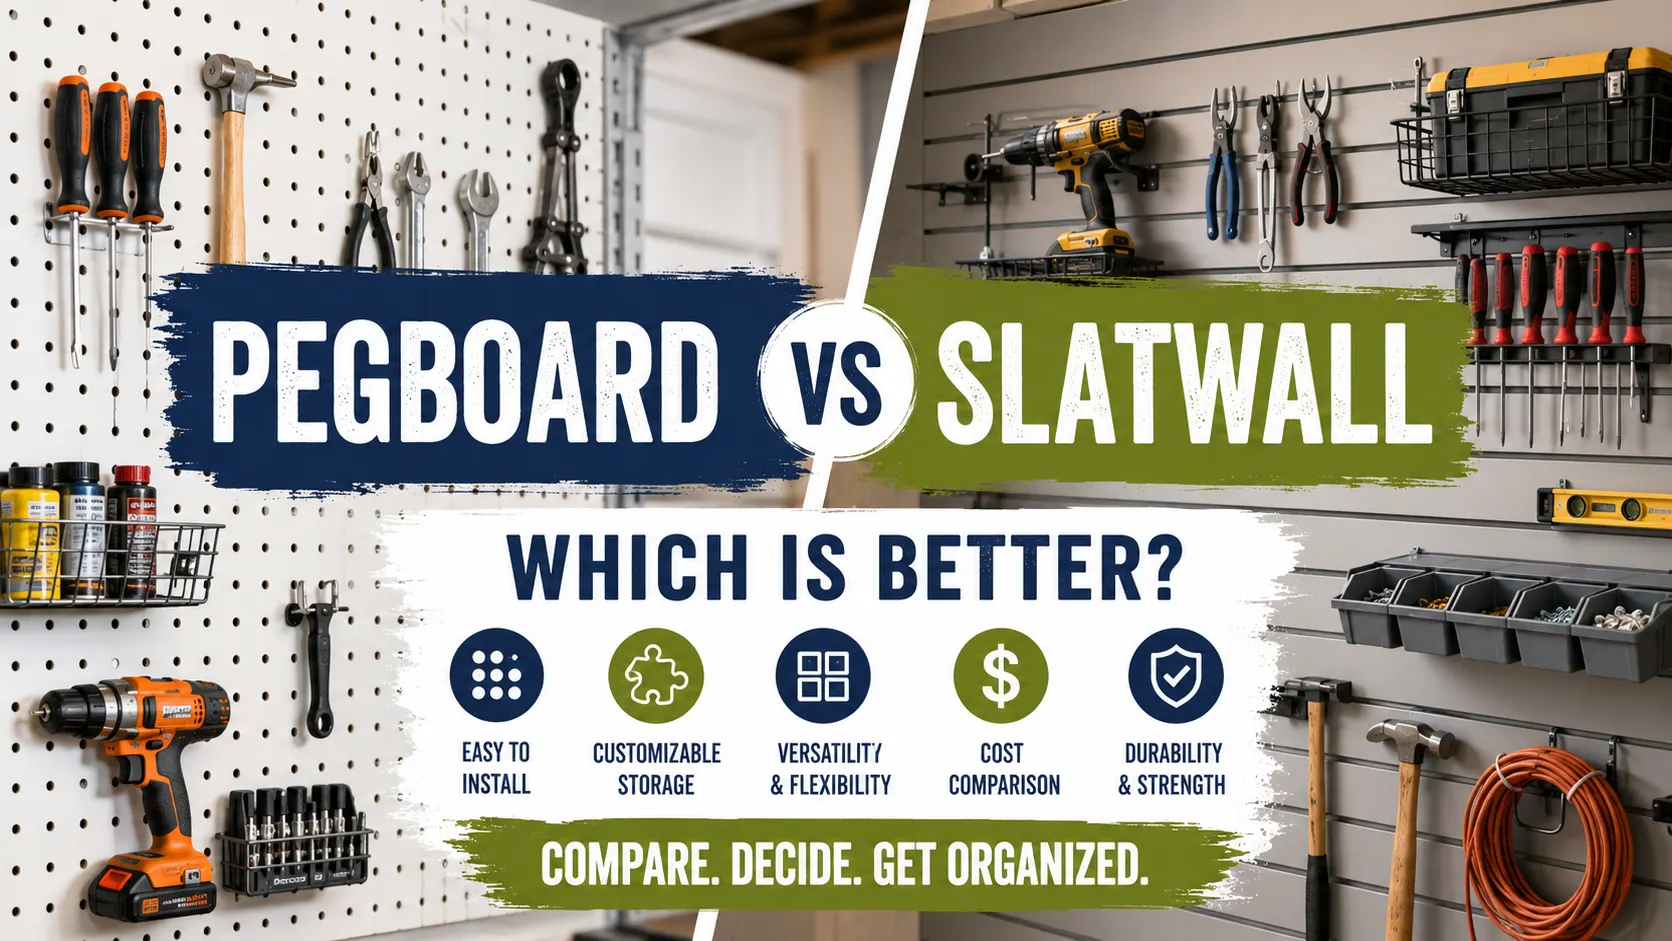
Budget garage storage doesn’t need to be fancy. A pegboard setup like this is one of the cheapest ways to get your tools off the floor and onto the wall where you can actually see them.
Step 3: Reusing Old Household Items
This step cost me nothing. I grabbed old glass jars from the kitchen and screwed their lids to the underside of a wood shelf I already had. Now nails, screws, and bolts sit in clear jars, and I can see exactly what’s inside without opening anything.
I also used a few old clear plastic bins that were sitting empty in my closet. Clear bins are great because you can see what’s inside without digging through them.
For a shelf bracket, I used leftover wood brackets from an old bookshelf I wasn’t using anymore. Didn’t spend a cent on that shelf.
Step 4: The Overhead Storage Hack
My garage has open ceiling rafters, and I realized I was wasting all that space. I bought two simple overhead hooks (about $10 total) and hung my folding ladder and off-season stuff like Christmas decorations up there.
One important note here. Only hang light things overhead, like empty bins or seasonal decorations. Never hang anything heavy near where people walk underneath. Safety first.
Step 5: Grouping Things Into Zones
The last step was giving everything a “home.” I split the garage into three simple zones:
- Tools zone – by the pegboard, near the workbench
- Garden zone – rakes, shovels, hoses, all together
- Car care zone – oil, wiper fluid, car cleaning supplies in one bin
Now when I need something, I know exactly which zone to walk to. No more digging through random boxes.
My Mistakes and What I Learned
I want to be honest about what I got wrong too, because I think it helps more than just showing the wins.
Mistake 1: I bought plastic bins before measuring my shelf. I grabbed a set of bins from the store, excited to get started, and they didn’t fit on my shelf at all. Had to return them and measure properly the second time. Lesson learned: measure your space first, always.
Mistake 2: I put heavy paint cans on a shelf that was too weak. The shelf started sagging in the middle after just a week. I had to reinforce it with an extra wood bracket. Now I check the weight limit before loading anything heavy onto a shelf.
Total Cost Breakdown
Here’s exactly what I spent, down to the dollar.
| Item | Estimated Cost | Where I Got It |
|---|---|---|
| Pegboard | $15 | Local hardware store |
| Stud finder | $8 | Local hardware store |
| Pack of hooks | $6 | Local hardware store |
| Overhead ceiling hooks (2) | $10 | Local hardware store |
| Wood screws and anchors | $5 | Local hardware store |
| Clear plastic bins (reused, already owned) | $0 | Already had them |
| Glass jars (reused) | $0 | Already had them |
| Wood brackets (reused) | $0 | Already had them |
| Total | $44 |
I stayed well under my $50 to $70 budget, and honestly, I still had a few dollars left over for coffee.
Frequently Asked Questions
How do I organize a very small garage with a lot of stuff?
Start with decluttering, not storage. Pull everything out, sort into keep, donate, and trash piles, and only then think about where things go. Small space organization works best when you reduce the stuff first and use vertical space like walls and ceiling second.
What is the cheapest way to organize garage walls?
A basic pegboard setup is one of the cheapest options. You can find one for around $15 at most hardware stores, and combined with a few hooks, you can hang tools, cords, and yard equipment without spending much at all. Just make sure to screw into wall studs so it can hold weight safely.
How do I start decluttering a messy garage when overwhelmed?
Pick one day and don’t try to do the whole garage at once if it feels like too much. Pull everything into your driveway or yard so you can see it all, then sort into three simple piles: keep, donate, and trash. Seeing everything out in the open makes the decisions easier than digging through boxes inside a cluttered space.
Final Thoughts
My garage is not perfect. It’s not one of those fancy showroom garages you see online. But I can park my bike now. I can find my hammer in five seconds instead of fifteen minutes. And that feels like a real win to me.
If your garage feels like a lost cause right now, just start small. Pick one corner, one shelf, one Saturday morning. Progress beats perfection every time, and you really don’t need a big budget to get there.